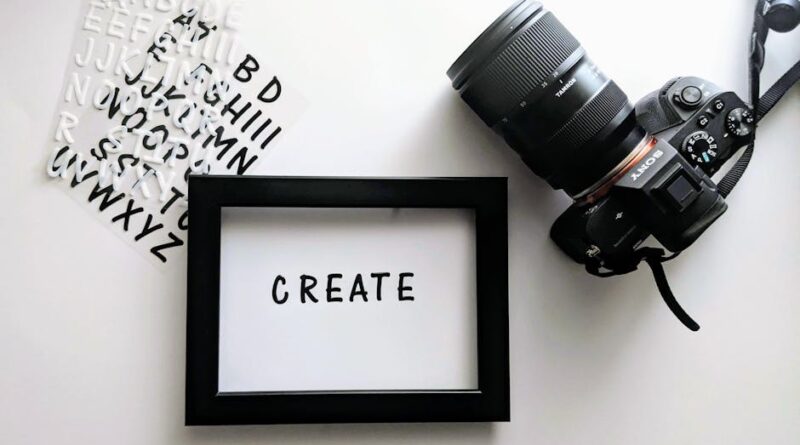
Unlocking Creativity: How to Create DIY Photo Frames
Photographs are windows to the past, freezing moments of joy, love, and laughter in a tangible form. Whether it’s a cherished family portrait, a breathtaking landscape shot, or a candid snapshot with friends, photos hold a special place in our hearts. So why not elevate these precious memories by creating unique and personalized DIY photo frames?
In this comprehensive guide, we’ll delve into the art of crafting DIY photo frames, exploring various techniques, materials, and creative ideas to help you showcase your photos in style. From simple designs to intricate patterns, from rustic charm to modern elegance, there’s a DIY photo frame for every taste and occasion. So, let’s roll up our sleeves, unleash our inner artist, and embark on a journey of creativity and self-expression!
The Basics of DIY Photo Frames
Before we dive into the world of DIY photo frames, let’s first understand the basics. A photo frame serves two main purposes: to protect and display a photograph. While store-bought frames are readily available, creating your own allows you to add a personal touch, tailor the design to suit your style, and unleash your creativity.
When it comes to crafting DIY photo frames, the possibilities are endless. You can use a variety of materials such as wood, cardboard, glass, metal, or even recycled items like old CDs or bottle caps. The key is to choose a material that complements the photo and enhances its visual appeal.
Additionally, consider the size and orientation of the photo when designing the frame. A portrait-oriented photo may look best in a vertical frame, while a landscape shot might benefit from a horizontal frame. Customizing the frame to fit the photo perfectly not only enhances the overall look but also ensures a snug and secure fit.
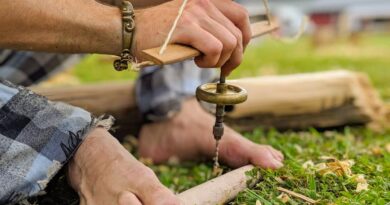
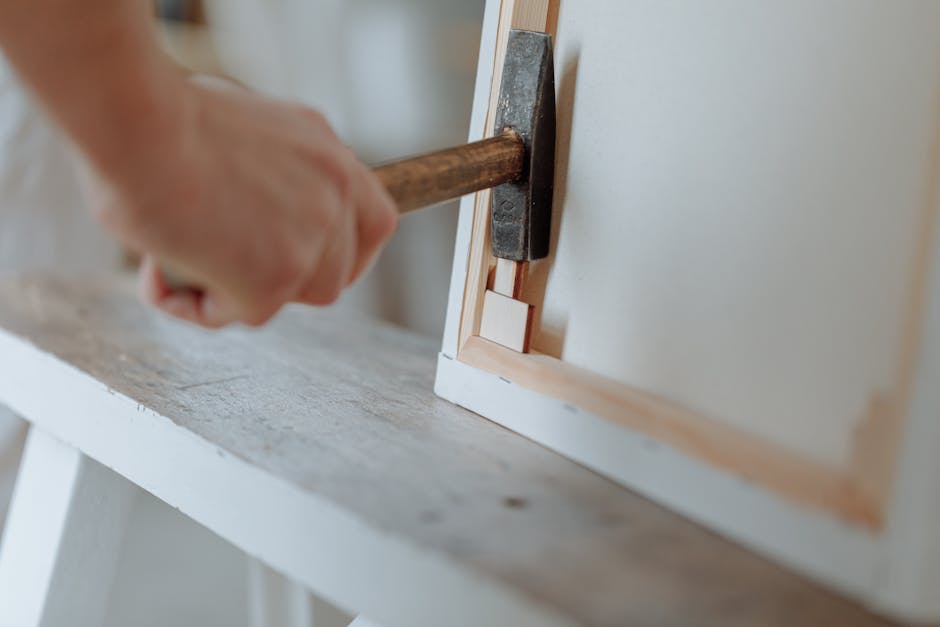
Wooden Wonder: Crafting DIY Wooden Photo Frames
Wood is a versatile and timeless material that adds warmth and character to any photo frame. Whether you prefer a rustic, natural look or a polished, modern finish, wooden frames offer endless customization possibilities. Here’s a step-by-step guide to creating your own DIY wooden photo frame:
Materials Needed:
- Wooden planks or boards
- Saw
- Sandpaper
- Wood glue
- Clamps
- Nails or screws
- Paint or stain (optional)
- Picture hanging hardware
Step 1: Measure and Cut the Wood
Begin by measuring the dimensions of your photo and determining the size of the frame. Use a saw to cut the wooden planks to the desired lengths, making sure to create four pieces for the frame two longer pieces for the top and bottom, and two shorter pieces for the sides.
Step 2: Sand and Smooth the Edges
Once you have cut the wood, use sandpaper to smooth the edges and create a clean, polished finish. This step is essential for ensuring a professional-looking frame and preventing any splinters or rough edges.
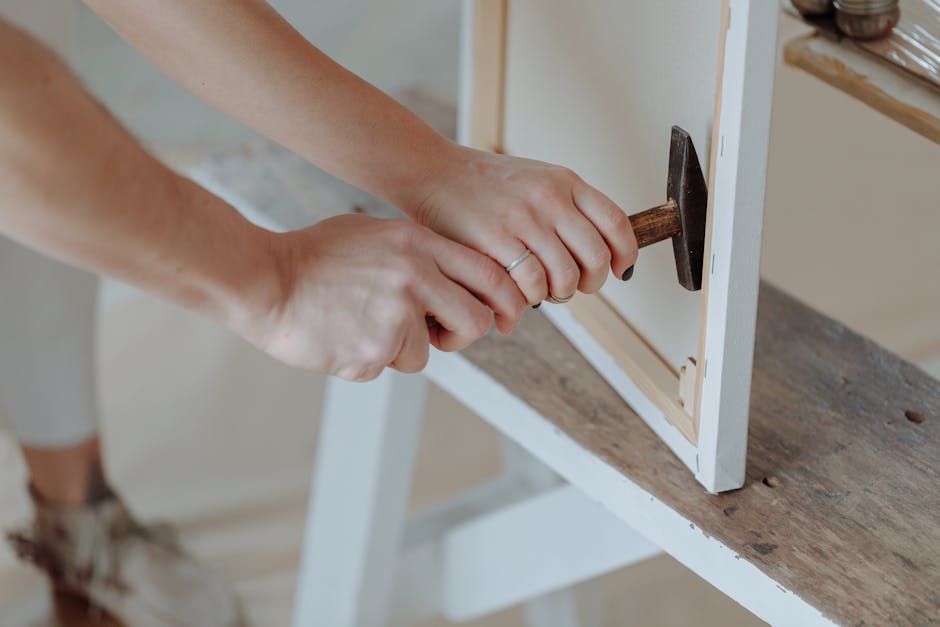
Step 3: Assemble the Frame
Using wood glue and clamps, assemble the four pieces of wood to create the frame. Apply a thin layer of wood glue to the edges of the wood and press them together firmly. Secure the corners with clamps and allow the glue to dry completely.
Step 4: Add Finishing Touches
If desired, you can paint or stain the wooden frame to match your dcor or enhance its visual appeal. Choose a finish that complements the photo and adds a personal touch to the frame. Once the paint or stain has dried, attach picture hanging hardware to the back of the frame for easy display.
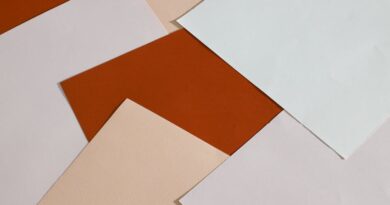
Creative Cardboard: Designing DIY Cardboard Photo Frames

Cardboard may seem like an unlikely choice for a photo frame, but it’s a versatile and budget-friendly material that can be transformed into stunning frames with a bit of creativity. Here’s how you can design your own DIY cardboard photo frame:
Materials Needed:
- Cardboard sheets
- Scissors or craft knife
- Ruler
- Decorative paper or fabric
- Glue
- Embellishments (buttons, beads, ribbons)
- Photo corners or adhesive tape
Step 1: Cut the Cardboard
Begin by cutting the cardboard sheets into four equal-sized pieces to form the frame. Use a ruler and scissors or a craft knife to ensure clean, straight cuts. You can customize the size and shape of the frame to suit your photo and personal style.
Step 2: Decorate the Frame
Once you have the basic frame shape, it’s time to get creative with decorations. Cover the cardboard with decorative paper or fabric to add color and texture. You can also embellish the frame with buttons, beads, ribbons, or other craft supplies to personalize it further.
Step 3: Attach the Photo
To secure the photo in the frame, use photo corners or adhesive tape to hold it in place. This allows you to easily swap out photos whenever you like without damaging the frame. Make sure the photo is centered and aligned within the frame for a polished look.
Step 4: Display Your Creation
Once you have completed the frame, it’s time to display your masterpiece. Whether on a shelf, desk, or wall, your DIY cardboard photo frame is sure to attract attention and admiration. Get creative with different shapes, sizes, and designs to showcase your photos in style.
Upcycled Elegance: Repurposing Everyday Items for DIY Photo Frames
Who says you need to buy expensive materials to create stunning photo frames? With a bit of imagination and resourcefulness, you can repurpose everyday items and turn them into unique and eco-friendly frames. Let’s explore some creative ideas for upcycled DIY photo frames:
Materials Needed:
- Old CDs or DVDs
- Bottle caps
- Driftwood
- Vintage picture frames
- Popsicle sticks
- Wine corks
- Old keys
- Soda cans
CD/DVD Photo Frame:
Turn old CDs or DVDs into shiny and reflective photo frames by cutting them into circular shapes and attaching a photo to the center. The reflective surface adds a touch of glamour and elegance to your photos.
Bottle Cap Frame:
Collect colorful bottle caps and arrange them around a photo to create a quirky and colorful frame. This playful design is perfect for showcasing fun and lighthearted photos.
Driftwood Frame:
For a rustic and natural look, gather driftwood pieces and assemble them into a frame. The irregular shapes and textures of the driftwood add a unique and organic touch to the frame, perfect for nature-inspired photos.
Vintage Frame Revamp:
Give new life to old and worn-out vintage picture frames by repainting or embellishing them with new designs. The distressed look of vintage frames adds character and charm to your photos, creating a timeless and elegant display.
Popsicle Stick Frame:
Arrange popsicle sticks in a pattern or design of your choice to create a simple and minimalist frame. This DIY frame is easy to make and can be customized with paint, washi tape, or other decorations to suit your style.
Wine Cork Frame:
Save your wine corks and glue them together to form a textured and tactile frame. The natural tones and textures of the corks add warmth and dimension to your photos, making them truly stand out.
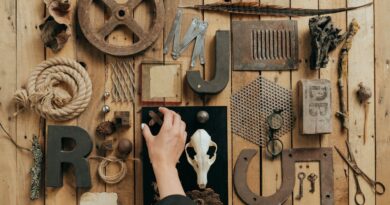
Old Key Frame:
Repurpose old keys by arranging them around a photo to create a vintage and steampunk-inspired frame. The intricate designs and textures of the keys add a touch of mystery and nostalgia to your photos, evoking a sense of old-world charm.
Soda Can Frame:
Cut and flatten soda cans to create colorful and metallic frames for your photos. The vibrant colors and reflective surfaces of the cans add a modern and industrial flair to your photos, making them pop with style and creativity.
Personalized Perfection: Adding a Touch of DIY to Your Dcor
DIY photo frames are not just practical displays for your photos; they also serve as decorative accents that can elevate your home dcor. By incorporating personalized and handmade frames into your living spaces, you can infuse them with warmth, character, and creativity. Here are some tips for adding a touch of DIY to your dcor:
Gallery Wall:
Create a gallery wall using a mix of store-bought and DIY photo frames to showcase a collection of photos. Arrange the frames in a grid or eclectic pattern to add visual interest and personality to your walls.
Themed Displays:
Organize your photos by themes or occasions and create specialized displays using DIY frames. For example, you can have a travel-themed wall with photos from your adventures, a family tree display with generational photos, or a pet corner with pictures of your furry friends.
Mix and Match:
Experiment with different frame styles, materials, and sizes to create a dynamic and visually appealing display. Mix and match DIY frames with store-bought ones to add variety and depth to your dcor, ensuring each photo stands out in its own unique way.
Seasonal Switch-Up:
Refresh your dcor with seasonal DIY photo frames that reflect the changing seasons and holidays. Create festive frames for Christmas, Halloween, or Valentine’s Day using seasonal decorations and colors to add a touch of seasonal cheer to your home.
DIY Gifts:
Give the gift of memories by creating personalized DIY photo frames for your loved ones. Whether it’s a birthday, anniversary, or special occasion, a handmade frame adds a personal touch and shows that you care. Customize the frame with unique designs, colors, or messages to make it truly special.
Common Misconceptions About DIY Photo Frames
While DIY photo frames are a fun and creative way to showcase your photos, there are some common misconceptions that may deter people from trying their hand at crafting their own frames. Let’s debunk some of these myths and set the record straight:
Myth: DIY photo frames are time-consuming and complicated to make.
Reality: DIY photo frames can be as simple or intricate as you like, depending on your skill level and creativity. With the right materials and a bit of patience, you can create beautiful frames in no time.
Myth: DIY photo frames are not as durable or professional-looking as store-bought frames.
Reality: With proper materials and techniques, DIY photo frames can be just as durable and professional-looking as store-bought frames, if not more so. Plus, the added personal touch makes them extra special.
Myth: DIY photo frames require expensive or specialized tools and materials.
Reality: DIY photo frames can be made using everyday items and basic craft supplies. You don’t need fancy tools or expensive materials to create stunning frames just a bit of creativity and resourcefulness.
Conclusion
To wrap things up, creating DIY photo frames is a wonderful way to add a personal touch, showcase your creativity, and display your photos in style. Whether you prefer wooden elegance, cardboard charm, or upcycled ingenuity, there’s a DIY frame for every taste and occasion. By following the step-by-step guides, exploring creative ideas, and debunking common misconceptions, you can unleash your inner artist and transform your photos into works of art.
So, why settle for ordinary when you can create extraordinary? Dive into the world of DIY photo frames, unleash your imagination, and let your photos shine in handmade perfection. Remember, it’s not just about framing a photo it’s about framing a memory, a moment, and a piece of your heart.